TechBase 3

Get this page as PDF


TechDesign Electronics


Projects Home


Database and invoicing software.

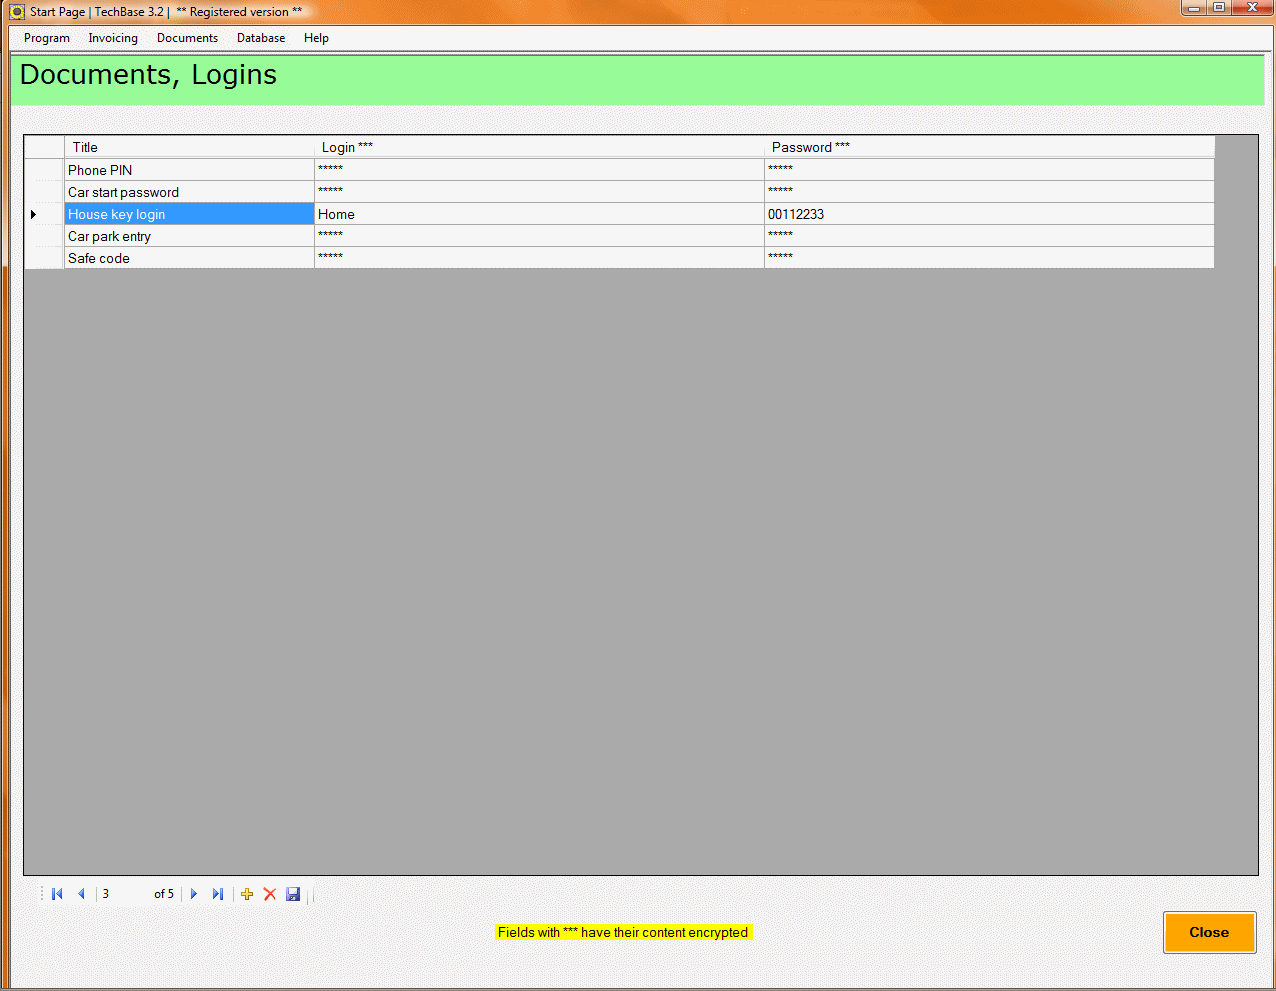
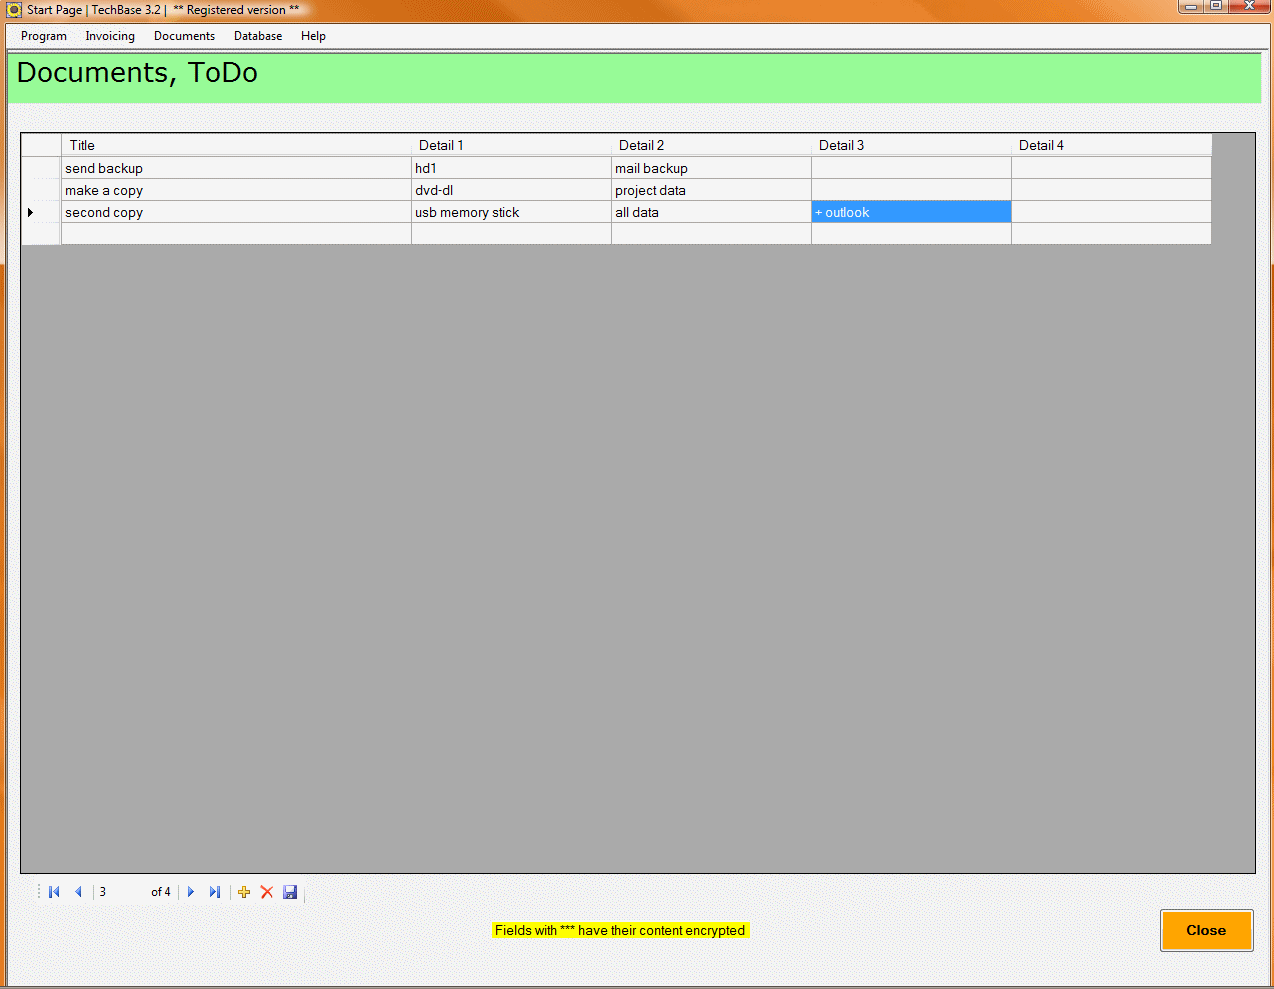
Encrypt and backup/restore your important data.


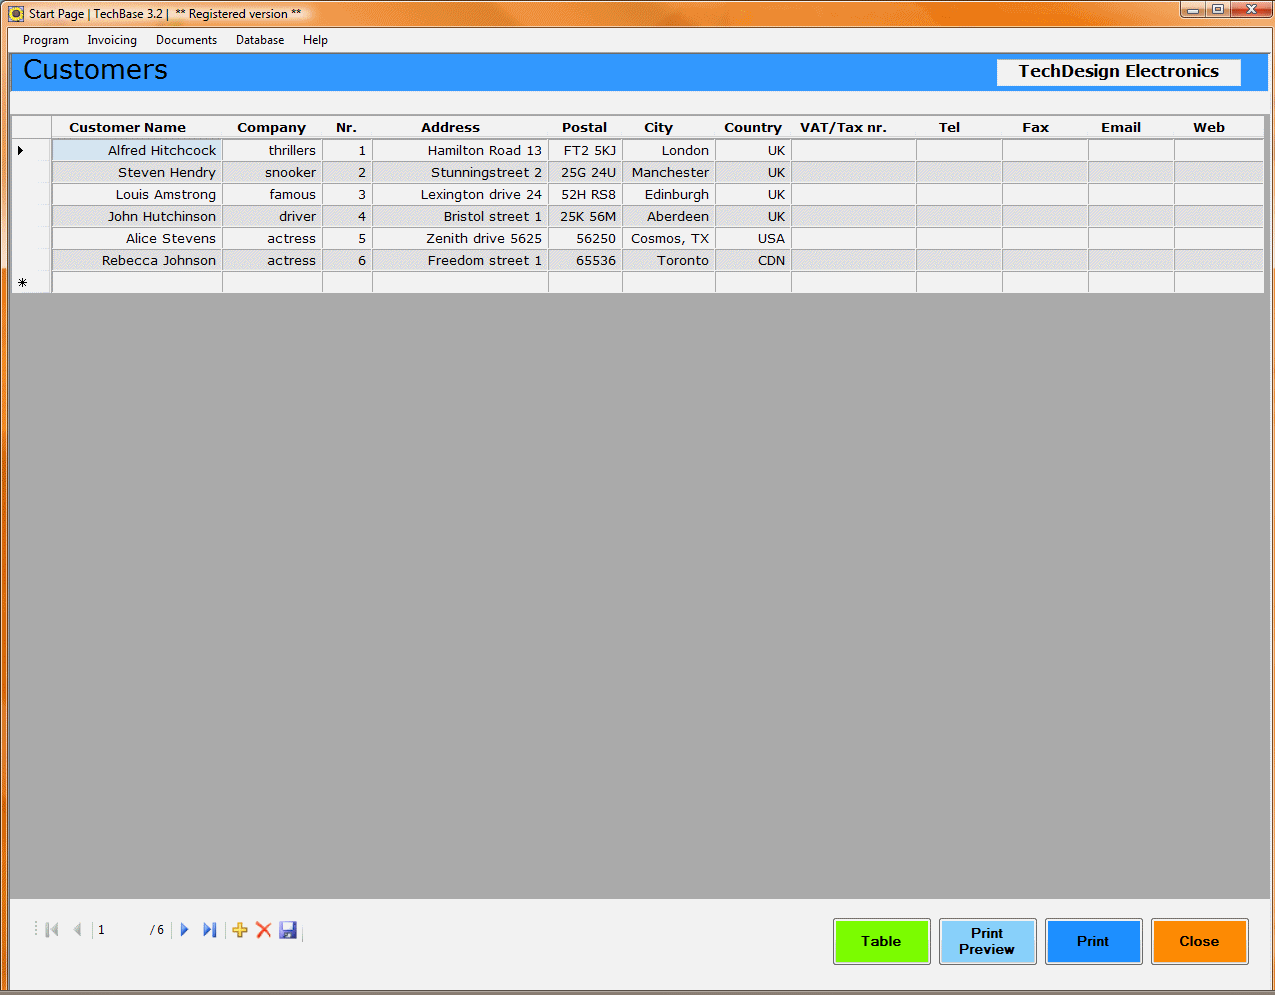
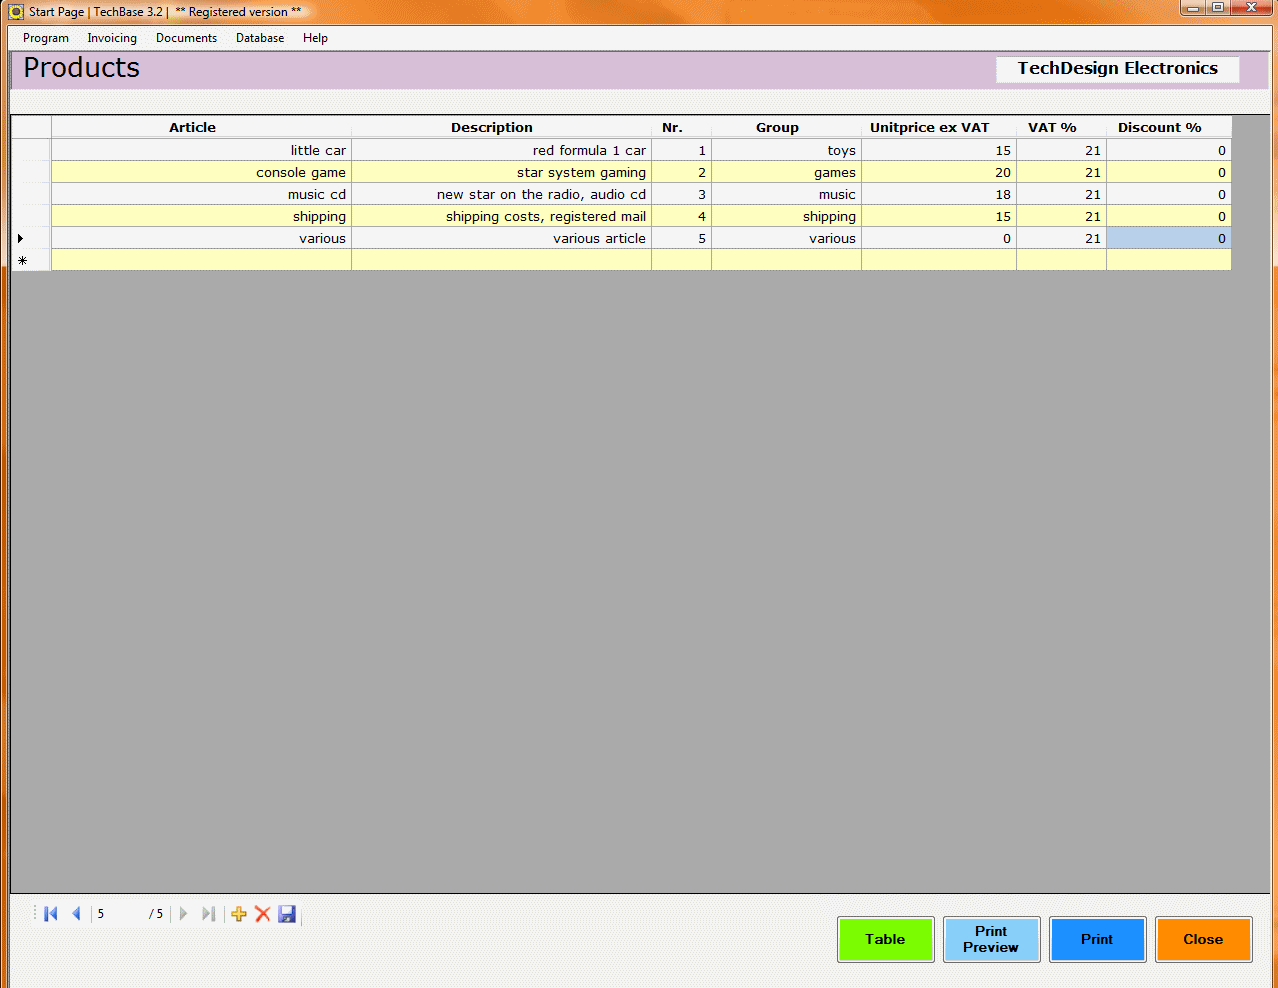
  • Fast customer/product/invoicing processing.
  • Create an Invoice/Proforma/Credit Note/Order/Send Note pdf and direct print.
  • Multiple currencies: EUR, USD, GBP, YEN and others
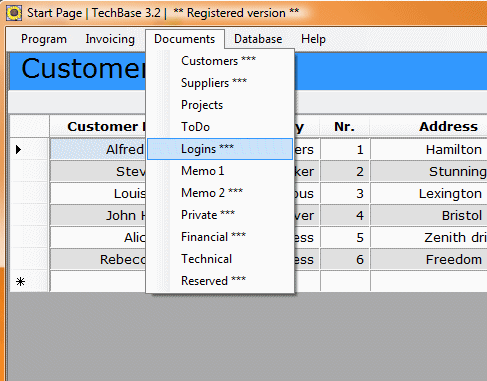
  • 11 document database tables (see screenshot on the left.)
  • Secure 256 bit AES encryption for text, double encryption for ZIP-email.
  • Encrypted content is hidden directly. Simple selection-click to decrypt.
  • Quick encrypted email-backup.
  • Choose your own encryption passphrase for full protection.
  • Free download and 30 day trial.
  • Multilingual application: English/Deutsch/Français/Nederlands/Español/Italiano.
  • Compatible with Windows XP/Vista/7.
  • Runs on .NET framework 3.5
  • Registration through your webshop order.

Last update: May 9, 2010.


Installation instructions:

  1. Download the database files, unzip and copy these 3 files to your directory c:\database

  2. Get the latest techbase setup, unzip and run setup.exe  These components will be donwloaded and installed automatically (click 'Accept' and 'Install' to confirm:)

  3. The program can be openend with the "TechBase 3" desktop icon, or through the Program group. Check the Users guide / FAQ below to get started.


Users guide / FAQ:

  1. Choose your language:
    • Go to "Program" and "Language" in te menu.
    • Choose your language in the drop-down list.
    • Restart the program or close and reopen it.


  2. Change your encryption key:
    • This will affect the encrypted fields (***) in the Documents-section.
    • Go to "Database" and "Extra" in the menu.
    • Change the 'Secret Key' to whatever you want, warning: this will make previous encrypted data unreadable! Empty the tables first.
    • Note: The 'ZIP password' only applies to the email backup attachment password.


  3. Enter your personal/company details:
    • Go to "Program" and "Options" in te menu.
    • Fill in the 'User Company Details' accurately.


  4. Fill in your backup/email details:
    • Go to "Program" and "Options" in te menu.
    • Fill in the 'User Backup / Email Details' accurately.


  5. Get a registration key to unlock the trial version:
    • Do the registration through your webshop order.
    • Wait to get a mail from us with your personal registration data.
    • Go to "Help" and "Registration" in te menu.
    • Fill in the details of your registration and click "Register!"


  6. How to fill in the customers/products database:
    • Go to "Invoicing" and "Customers" or "Products" in te menu.
    • Fill in the customers / products details.


  7. Make my first invoice:
    • Be sure to have some data in the "Customers" and "Products" tables.
    • Have a look at the "Database" and "Extra" in the menu. Fill in the 'Invoice settings'
    • Go to "Invoicing" and "Orders" in te menu.
    • Click "New" near the top-right of the screen.
    • Near the bottom-left, change the 'Type' and 'Currency' if needed.
    • Choose your customer from the top-left 'Select Customer' drop-down box and ENTER.
    • Select the date or ENTER.
    • (Optional) add additional text in the 'Info' field and ENTER.
      • Select a first article in the 'Select Article' drop-down box and ENTER.
      • (Optional) add additional text in the 'Info' field and ENTER.
      • Choose the quantity (1 is preset) and ENTER.
      • Correct the price if needed and ENTER.
      • Press ENTER to input the next article.
    • Click 'Print Preview' for a pdf print preview.
    • Click 'Print' to get an immediate printout.


  8. How to use the documents / encrypted database:
    • Go to "Documents" and one of the 11 available tables (example: 'Logins ***') in the menu.
    • Fill in your data, colums with *** will be encrypted automatically.
    • Add an additional row with the yellow '+' on the bottom-left.
    • Decrypt data in a particular row by simply clicking the appropriate field.
    • Data is saved automatically.


  9. Change the startscreen (what screen is shown when the program is opened?)
    • Go to "Database" and "Extra" in the menu.
    • Choose from the drop-down list.


Get this page as PDF


Screenshots:


Projects Home